Maintaining the correct tire pressure is crucial for the safety, performance, and longevity of your vehicle. Yet, many drivers overlook this simple yet essential task.

In this step-by-step guide, we will walk you through the process of checking and adjusting your automobile tire pressure, ensuring your drives are not only safer but also more fuel-efficient.
Step 1: Gather the Necessary Tools
Before you begin, make sure you have the following tools on hand:
- Tire pressure gauge
- Air compressor
- Valve stem caps
Step 2: Identify the Recommended Tire Pressure
Refer to your vehicle’s owner’s manual or the sticker located on the driver’s side door jamb or inside the glove compartment. The recommended tire pressure is usually measured in pounds per square inch (psi) and may vary for front and rear tires.
Step 3: Check Tire Pressure When Tires Are Cold
Tire pressure fluctuates with temperature, so it’s essential to check your tires when they are cold. Cold tires refer to those that haven’t been driven for at least three hours. If you’ve recently driven your vehicle, wait until the tires cool down before proceeding.
Step 4: Remove Valve Stem Caps
Unscrew the valve stem caps on all four tires. These caps protect the valve and help maintain proper tire pressure.
Step 5: Use the Tire Pressure Gauge
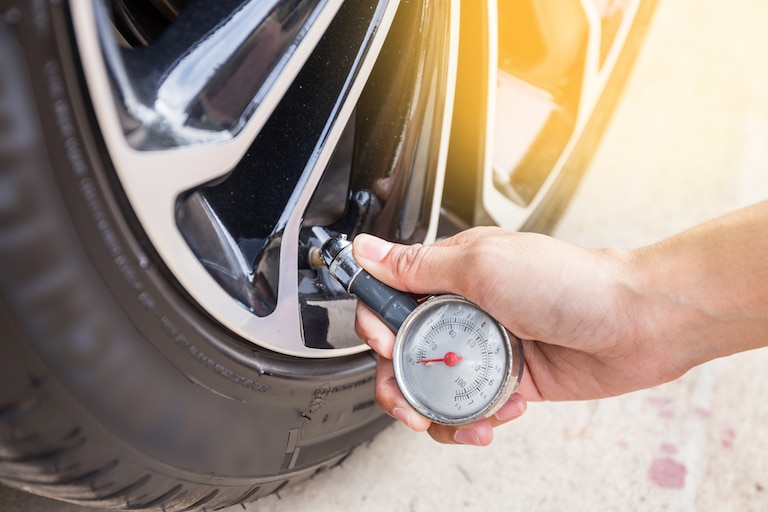
Place the gauge onto the valve stem and press down firmly to get an accurate reading. The gauge will display the current tire pressure. Repeat this process for all four tires.
Step 6: Compare Readings to Recommended Pressure
Compare the readings from the gauge to the recommended tire pressure specified in your owner’s manual or on the vehicle sticker. If the pressure is too low, you’ll need to add air. If it’s too high, release some air until you reach the correct pressure.
Step 7: Adjust Tire Pressure
Attach the air compressor to the valve stem and add air in short bursts, checking the pressure frequently with the gauge. Stop periodically to ensure you don’t overinflate the tires. If you accidentally overinflate, release air by pressing the center of the valve stem until you reach the correct pressure.
Step 8: Recheck Tire Pressure
Once you’ve adjusted the tire pressure for all four tires, recheck them using the pressure gauge to ensure they meet the recommended levels.
Step 9: Replace Valve Stem Caps
Screw the valve stem caps back onto each tire to protect the valve and help maintain the proper tire pressure.
Regularly checking and adjusting your automobile tire pressure is a simple yet effective way to ensure your safety on the road, improve fuel efficiency, and extend the lifespan of your tires. By following this step-by-step guide, you’ll be well-equipped to keep your tires in optimal condition and enjoy a smoother, safer driving experience.
